A genotype is a broad term that refers to the animal’s genetic makeup. It is an essential pillar of Tails.
As animal models come in many genetic forms, Tails allows for high customizability, letting users freely create genes and alleles, with unlimited mixing and matching, while still providing a standard to minimize confusion and conflict.
Let’s have look at how genotypes are broken down.
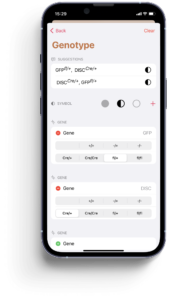
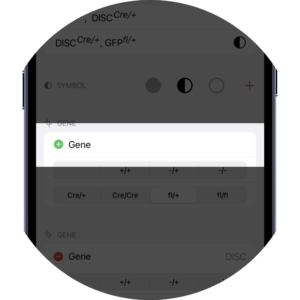
Start by selecting a gene by pressing the green + button. Your gene list will appear, tap on one to select.
You can add as many genes as you’d like.
Associate each gene with an allele. Although this is optional, it is good practice to do so even if the gene is unmutated or wildtype, in that case, just mark it as +/+.
If you’re wondering how to designate your alleles, please check out this article.
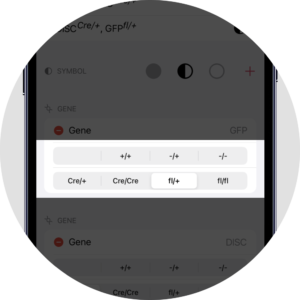
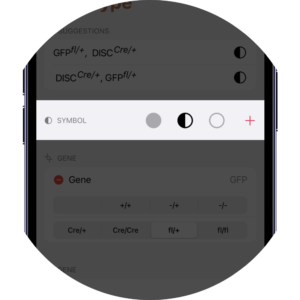
You may optionally add a symbol to your genotype.
This will help quickly identify genotypes. For example, you could use the semi-circle to designate a heterozygous, empty circle for homozygous, and full circle for wildtypes, but this is entirely up to you and more options exist.
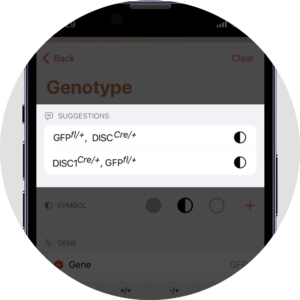
To avoid having to manually select each gene and alleles every time, Tails will offer suggestions to fasten genotype selection.

When creating a new animal with known parents, the offspring’s genotype is automatically inferred. However, if the parents are not homozygous, several possibilities exist. In that case, the allele(s) that could not be deduced is marked with a ‘?’ and a yellow ‘Genotype’ label is applied.
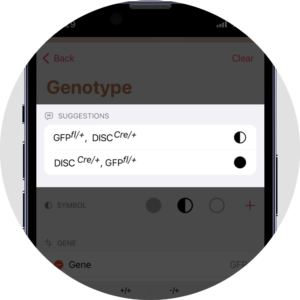
When comparing genotypes, Tails will ignore the order in which genes come. In this example, those genotypes are assumed to be identical, regardless of symbols.
In Settings, you can directly import your genotype results without having to add them one by one.
To learn more, click here.